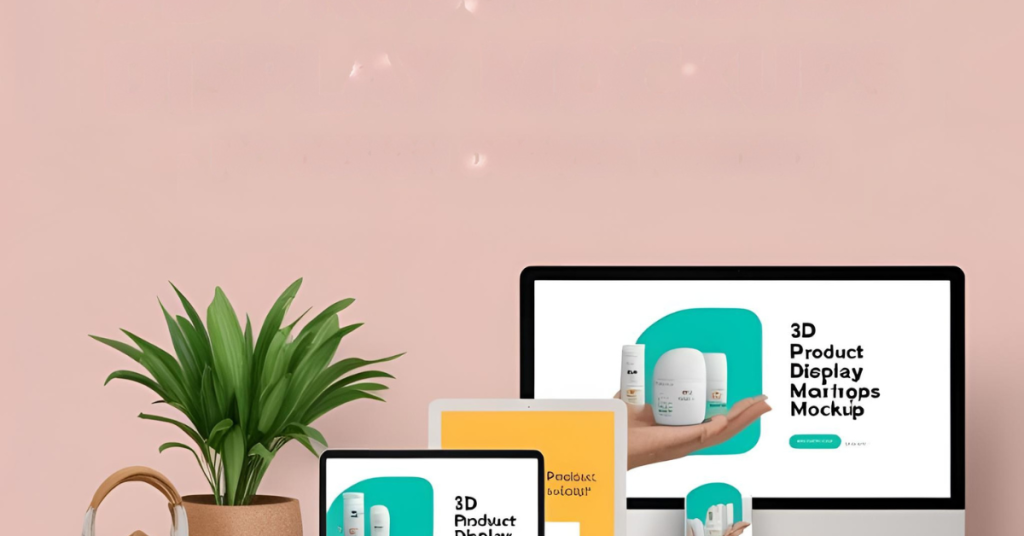
If you’re looking to dive into the world of product visualization and create eye-catching product display mockups, this guide is for you. Whether you’re a total beginner or an aspiring 3D artist, this step-by-step tutorial will help you model a realistic serum bottle using Blender—one of the most powerful (and free!) tools for 3D product rendering.
What Is Product Visualization?
Product visualization is the art and science of creating 3D representations of products for marketing, branding, and presentation. From cosmetics to tech gadgets, brands rely on high-quality product visuals to tell a compelling story—without the cost of physical photography.
By learning how to create product display mockups, you unlock opportunities in freelancing, e-commerce, digital advertising, and branding. And Blender makes this not only possible—but exciting and creative.
Starting Your First Product Visualization Project
Today, we’ll be modeling a serum bottle as our first product visualization project. Here’s how to get started:
- Open Blender and clean the default scene (A → Delete).
- Enable the shortcut display using N, so you can view which keys are being pressed.
We’ll be working with a reference image to keep proportions accurate—this is a core technique in realistic product visualization.
Step 1: Setting Up Units for Realism
To ensure your product display mockup has real-world proportions:
- Go to Scene Properties > Units
- Change the unit system from meters to centimeters
This step is crucial in product visualization, where every millimeter counts—especially in packaging design.
Step 2: Importing a Reference for Accurate Modeling
- Add a Reference Image via Add > Image > Reference
- Choose your serum bottle image
- Scale and position it properly using S and G keys
In product visualization, working with references ensures visual accuracy and production-ready designs.
Step 3: Creating the Base Model of the Bottle
Add a cylinder and:
- Scale it to around 8–10 cm in height
- Use Edit Mode to manipulate the shape with E (Extrude), S (Scale), and G (Grab)
- Use X-ray mode (Alt + Z) to select through the model
By tracing the silhouette, you’re building a highly accurate product representation—core to effective product visualization.
Step 4: Building a Realistic Bottle Structure
Model the neck, inner cap area, and detailed grooves using:
- Loop cuts (Ctrl + R)
- Inset faces (I)
- Subdivision Surface Modifier for smooth curves
- Solidify Modifier for realistic thickness
These are staple tools in any product visualization workflow, especially when developing product display mockups that clients expect to look photorealistic.
Step 5: Designing the Cap and Parenting the Model
Add a new cylinder for the cap:
- Shape it using Edit Mode tools
- Add appropriate thickness and smoothness
- Parent it to the bottle using Ctrl + P > Object
Organize your scene by creating a Collection and naming your objects. Clean project files are a hallmark of professional product visualization work.
Step 6: Modeling the Dropper for Enhanced Detail
Add another cylinder and:
- Shape it into a dropper tube
- Use Bevels (Ctrl + B) for rounded tips
- Add solidify modifiers for realism
- Use Subdivision again for softness
Including fine details like this elevates your product display mockup and showcases mastery in product visualization.
Step 7: Applying Basic Materials
Head to the Material tab:
- Assign light grey to the bottle, and dark grey to the cap
- Adjust roughness and metallic values for realism
These steps set the base for future texturing, lighting, and rendering. Remember, material control is a critical skill in product visualization.
Step 8: Lighting with HDRI for Realism
In the World tab:
- Use an HDRI image for natural lighting
- Choose an indoor or studio HDRI to simulate product photo shoots
Proper lighting defines the visual tone and clarity of your product visualization. It’s what turns a basic 3D model into a polished product display mockup ready for client delivery.
Step 9: Rendering with Cycles Engine
Switch from Eevee to Cycles for higher-quality rendering. Then:
- Preview in Render View mode
- Adjust sample counts and lighting to refine your look
You now have a fully modeled and shaded serum bottle—your first complete product visualization ready to impress.
Why Product Visualization Is a Valuable Skill
Here’s why learning product visualization is a career booster:
- Freelancers are charging $100–$300 per high-quality mockup
- Brands and agencies are constantly seeking packaging designers
- E-commerce sellers need digital versions of packaging before production
- Marketing teams want animated 3D views instead of plain 2D images
When you master product display mockups, you unlock opportunities across industries like cosmetics, food & beverage, electronics, and more.
From Modeling to Marketing: The Road Ahead
This was the first tutorial in our product visualization series. In upcoming parts, we’ll model more containers, apply labels, textures, and even animate your product mockups for professional presentations. If you want additional resources for product visualization, head over here.
If you continue to follow along, you’ll develop an end-to-end workflow for product visualization—from modeling to material rendering to final marketing-ready visuals.
Tools Recap
- Blender 3.6.2
- Subdivision + Solidify Modifiers
- HDRI Lighting
- Reference-based Modeling
- Organized Collections & Parenting
- Real-time Render Previews
These are your foundation blocks in the world of 3D product visualization and product display mockups.
Final Thoughts
With just a basic understanding of Blender and a reference image, you’ve now created your first realistic serum bottle. This is more than just a modeling project—it’s a stepping stone into the high-demand world of product visualization.
So keep practicing, explore more packaging styles, and soon, you’ll be able to create a full set of product display mockups for any client in any industry.
Want to see what we build next? Subscribe to the blog or follow along in the video series. And if you have questions—drop them in the comments. Let’s grow your product design skills, one model at a time.